Assemble it yourself
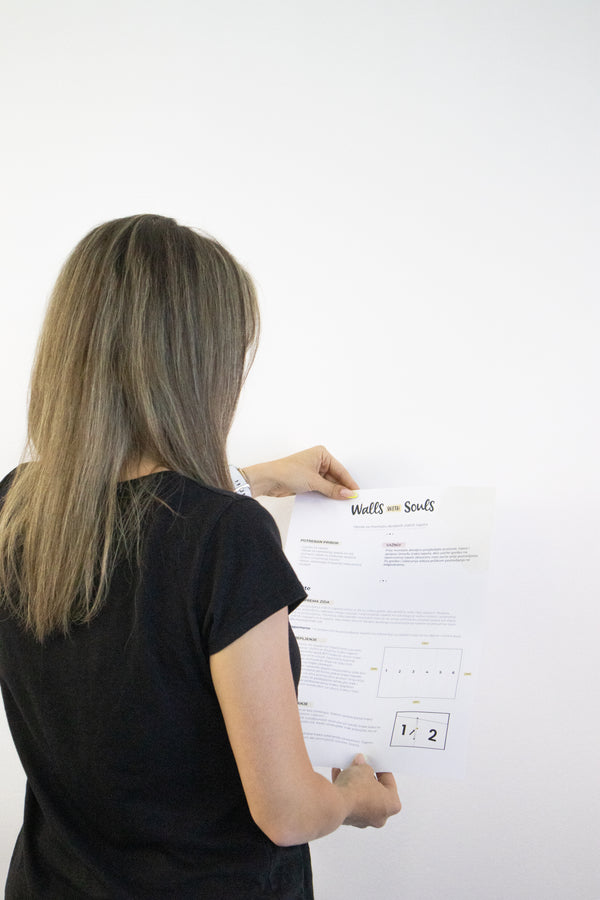
For successful installation, it is important to ensure a properly prepared wall surface and appropriate accessories. Follow the simple steps below to keep your WWS wallpaper looking flawless!
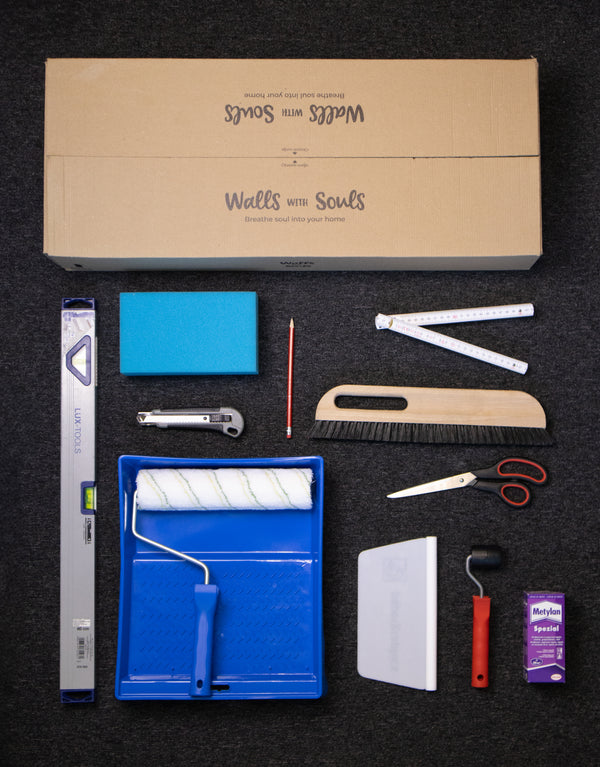
Required accessories
WWS wallpaper
Sponge
Meter
Pencil
Scalpel
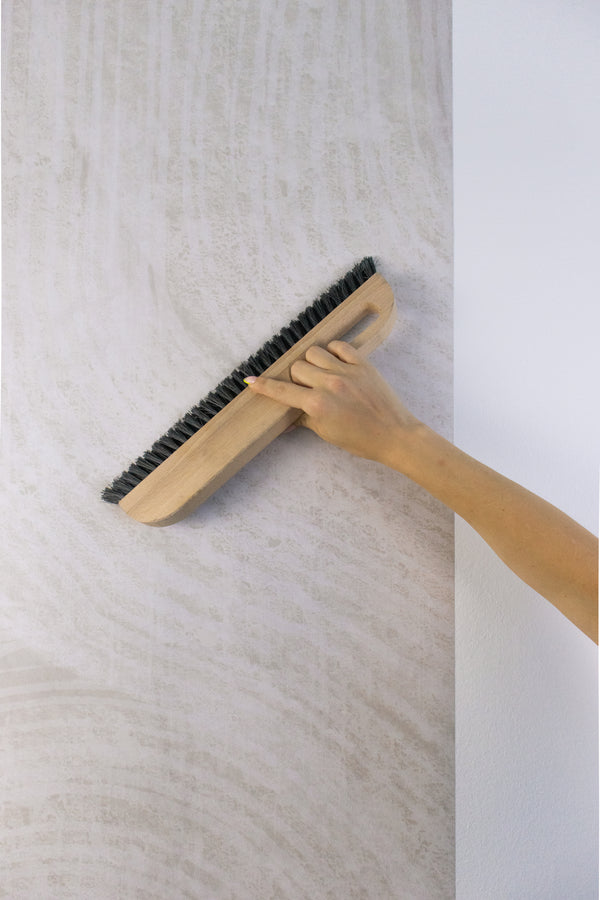
Wallpaper brush
Level
Glue roller
Scissors
Spatula
Rubber roller
Wallpaper glue
Tip
Before assembly, carefully inspect the product, the dimensions and the connections between them
wallpaper strip. If you notice an error on the delivered wallpaper, be sure to contact us
contact before installation. We assume no responsibility for errors or
damage caused when installing wallpaper on the wall.
• Make sure you have a smooth and even surface in one color.
• The edges of the strips should fit snugly.
• Apply the adhesive evenly to the wall.
• Carefully remove the glue directly with a sponge.
• It is recommended that for dark wallpaper, a dark painted wall
Note
It is not recommended to install wallpaper on walls exposed to moisture or on oil and vinyl paints.
Instructions
Before installing wallpaper, it is important that the walls are smooth, dust-free, dry and free of mold.
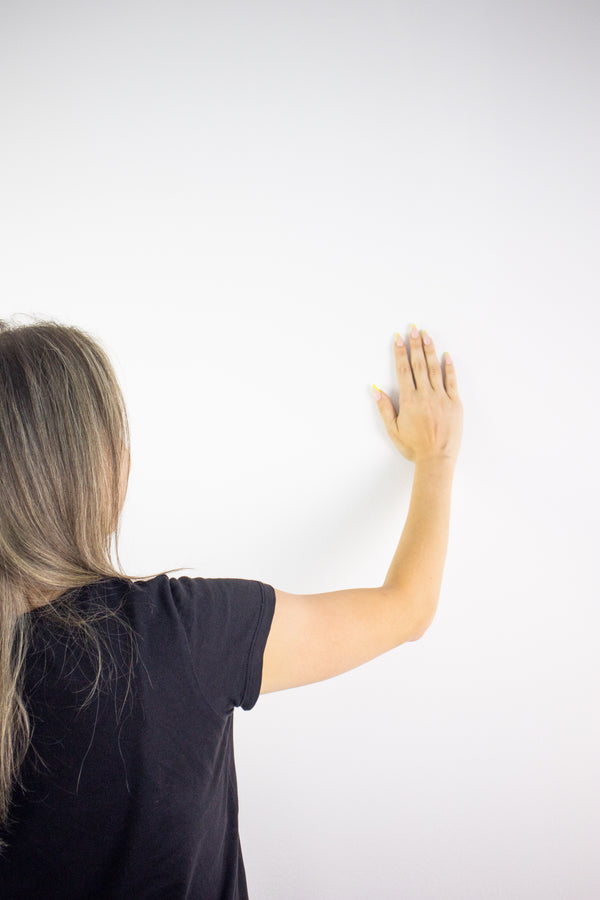
Dust, moisture, dirt and mold can affect the adhesion of the wallpaper to the wall, so it is important to clean and prepare the wall for installation. Wall surface
It must also be clean and free of adhesive residue from old wall stickers or wallpaper.
Type:
If you want to create an ideal surface for wallpapering, we advise you to impregnate the wall.
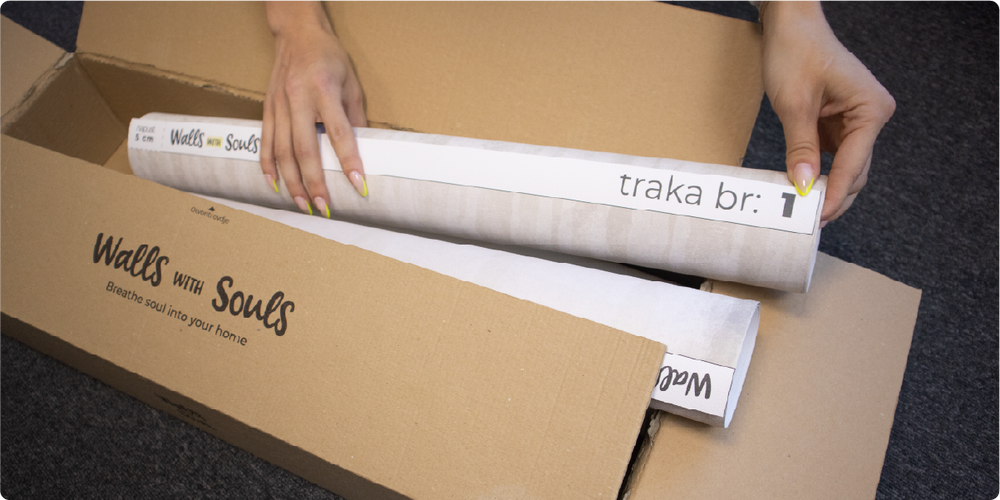
Find all the wallpaper strips in your Walls with Souls package
Depending on the type of wall, start with the first strip as follows:
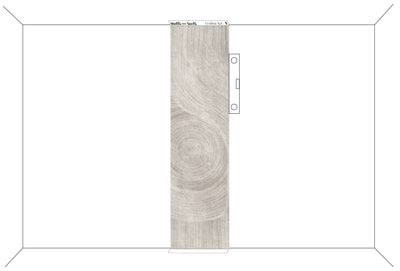
If the wall is straight, move from left to right.
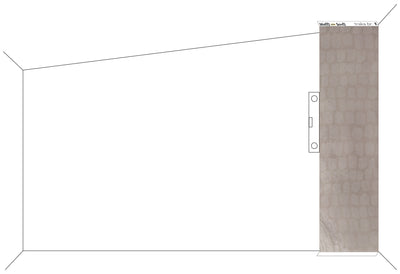
If the wall is elevated in one part, start from the highest point.
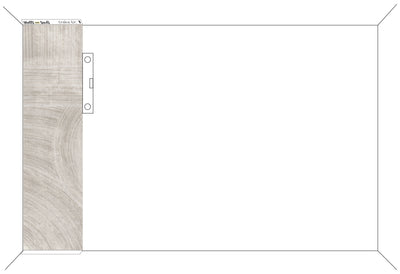
If the wall has obstacles on it, start from the side where you can place the first strip without obstacles.
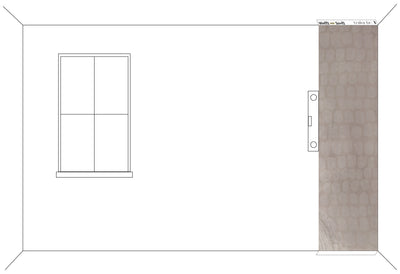
If you want the design to be centered, start sticking the tape you want to center on the part of the wall where you want the motif to be centered.
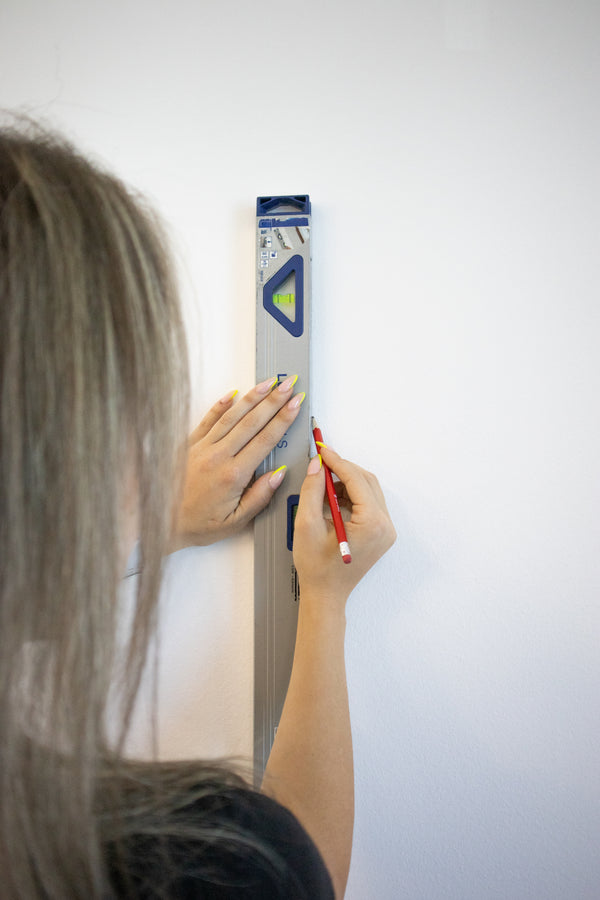
It's important to place the first strip of wallpaper vertically (at 90°) so that the subsequent strips complement the visual perfectly. Use a spirit level to outline the vertical line on the wall with a pencil.
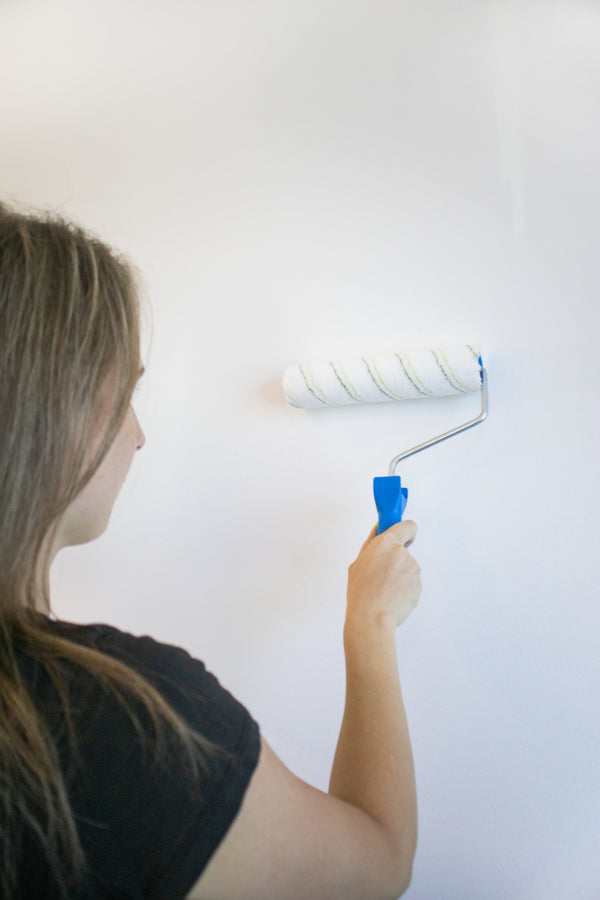
Use a roller to evenly apply the adhesive to the wall surface, a few centimeters wider than the width of one strip of wallpaper. Apply the wallpaper from top to bottom, following the line you drew on the wall, gradually squeezing out air and unevenness. Once you have placed the first strip, apply adhesive to the area designated for the next strip, and so on.
The wallpaper strips are glued without overlapping.
Each strip must be fully pressed against the other strips so that no wall is visible at the joints. When squeezing out the air, be careful not to separate the strips.
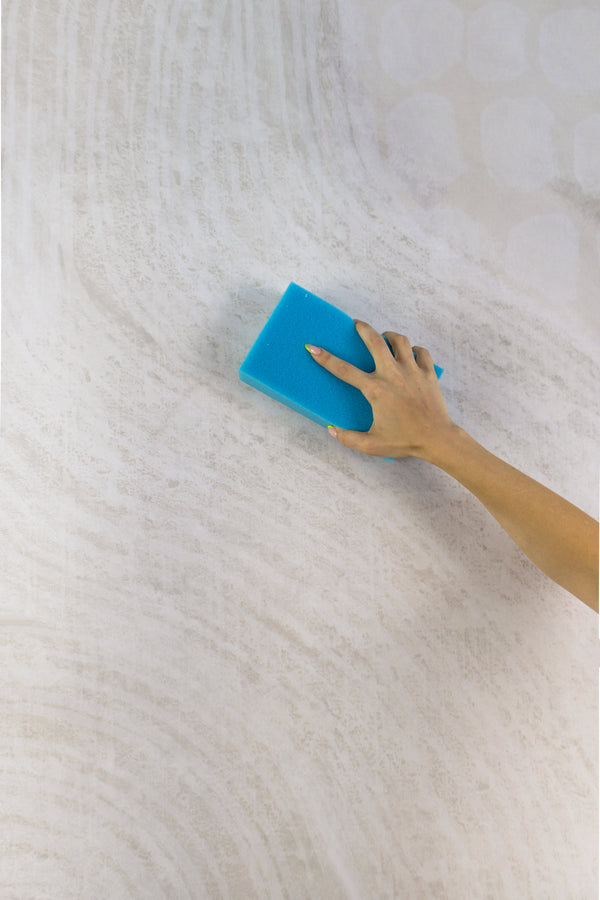
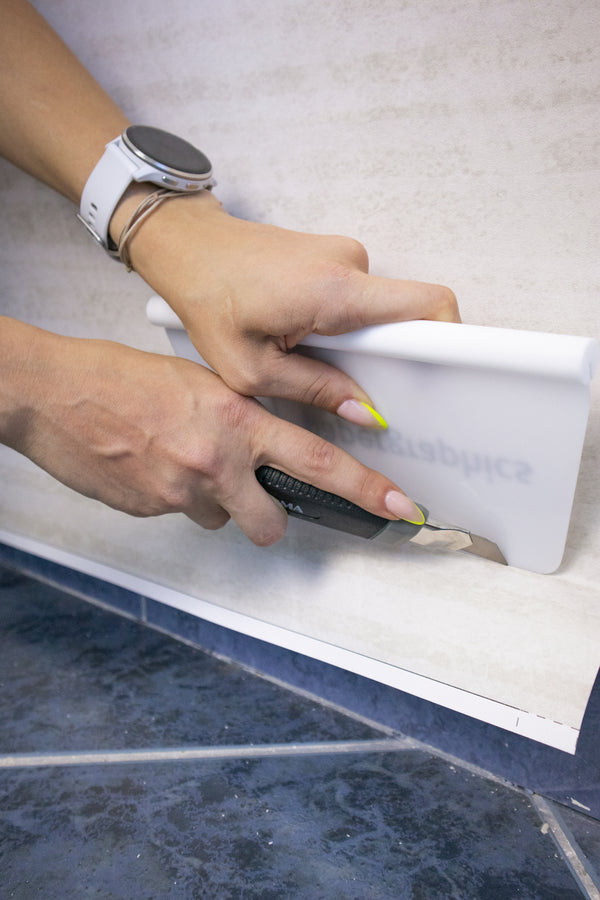
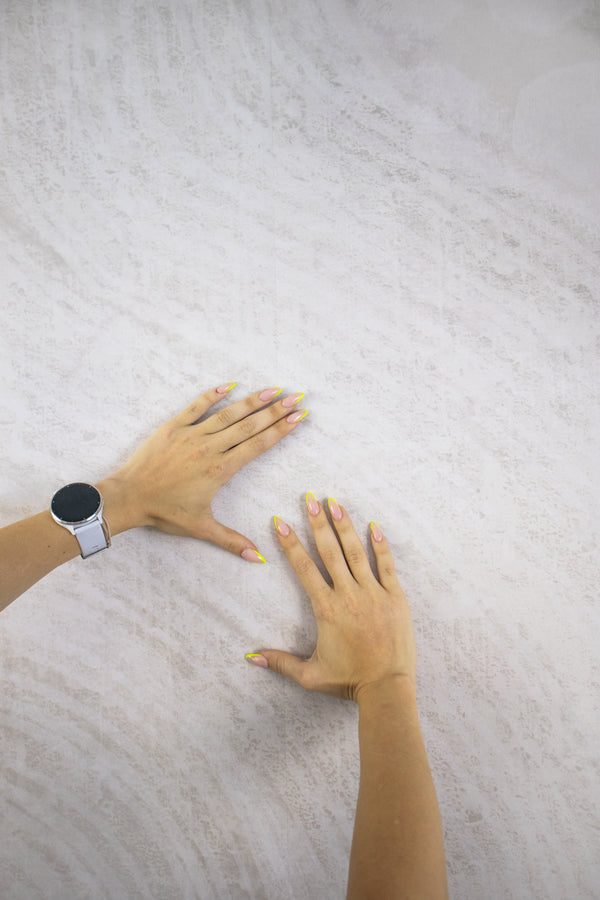
Remove excess glue from the top and bottom of the tape with a scalpel. Wipe the wallpaper with a damp cloth or sponge if you notice any glue residue.


